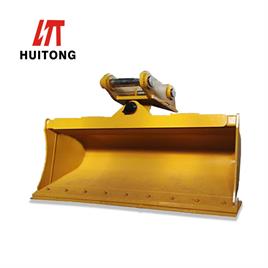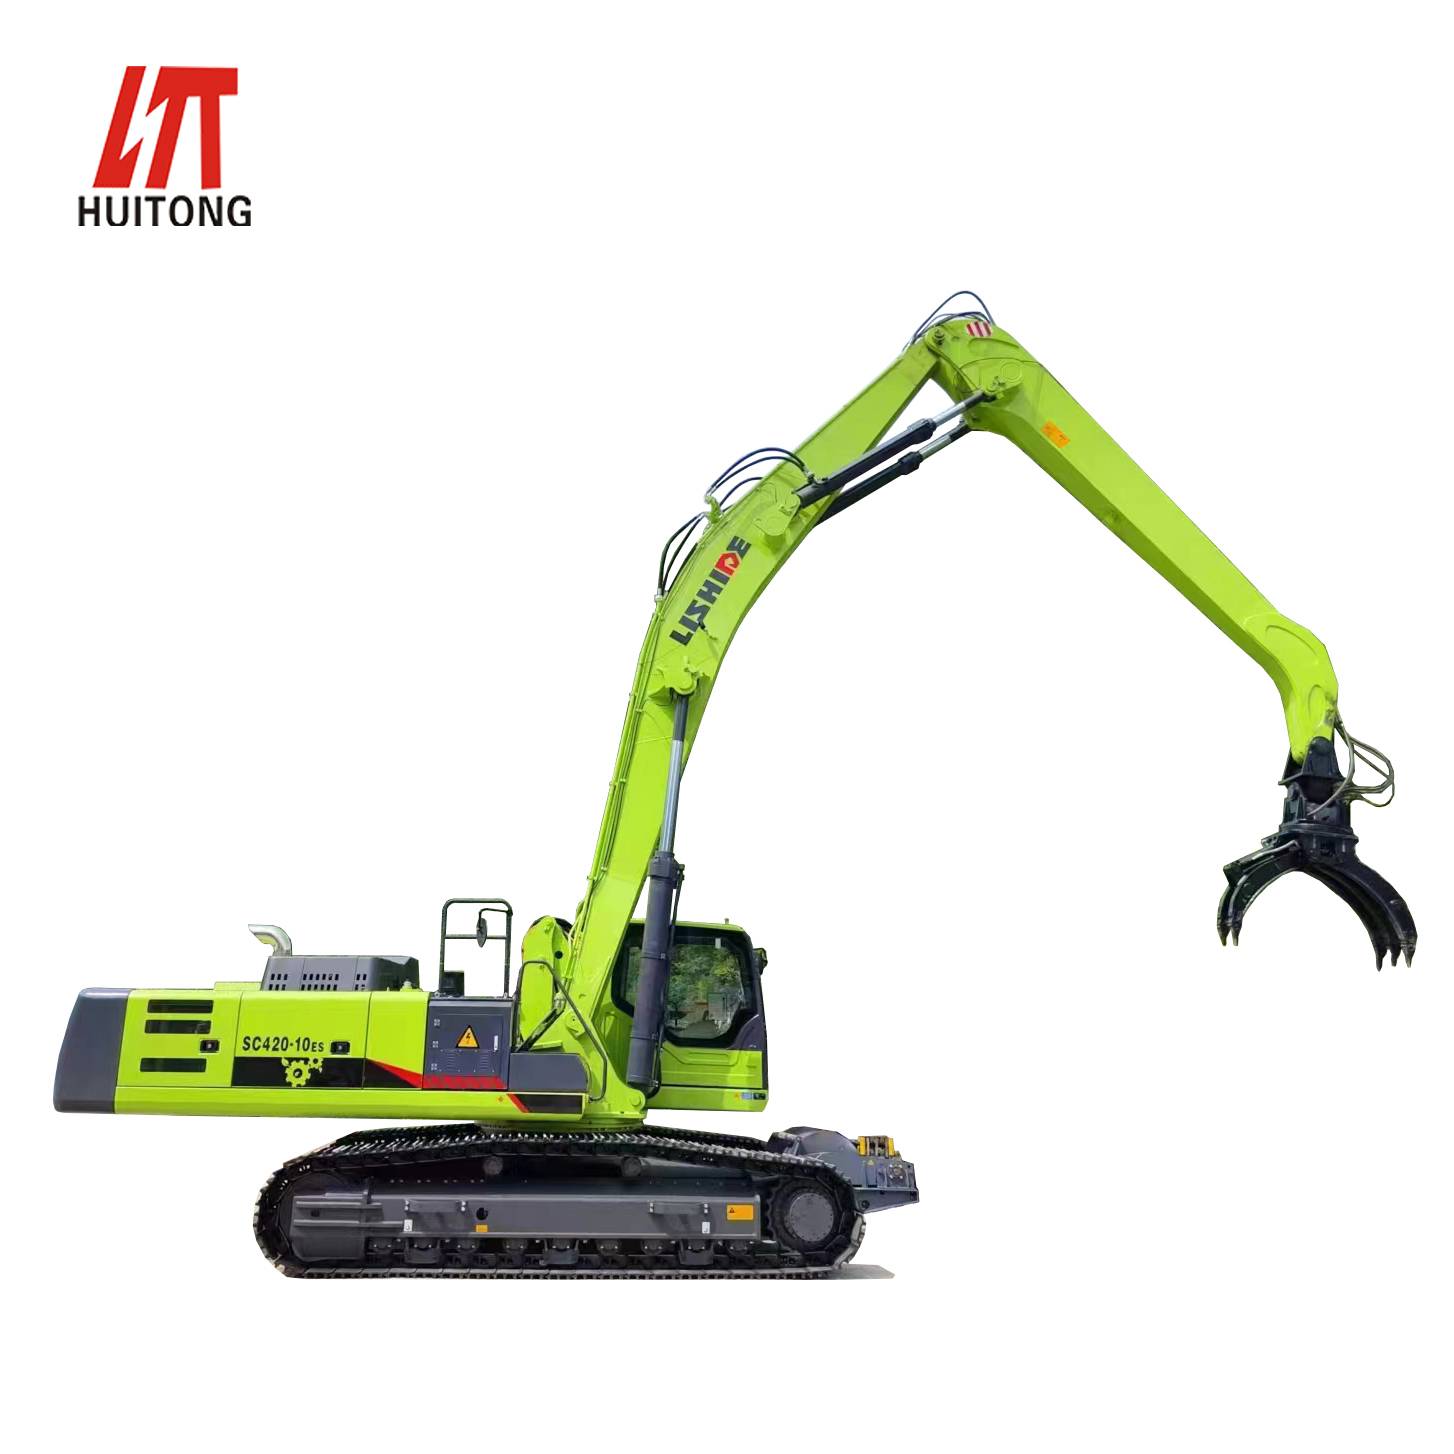


10 years focus on excavator parts manufacturing
10 years focus on excavator parts manufacturing

 HuiTong
  2026-05-11
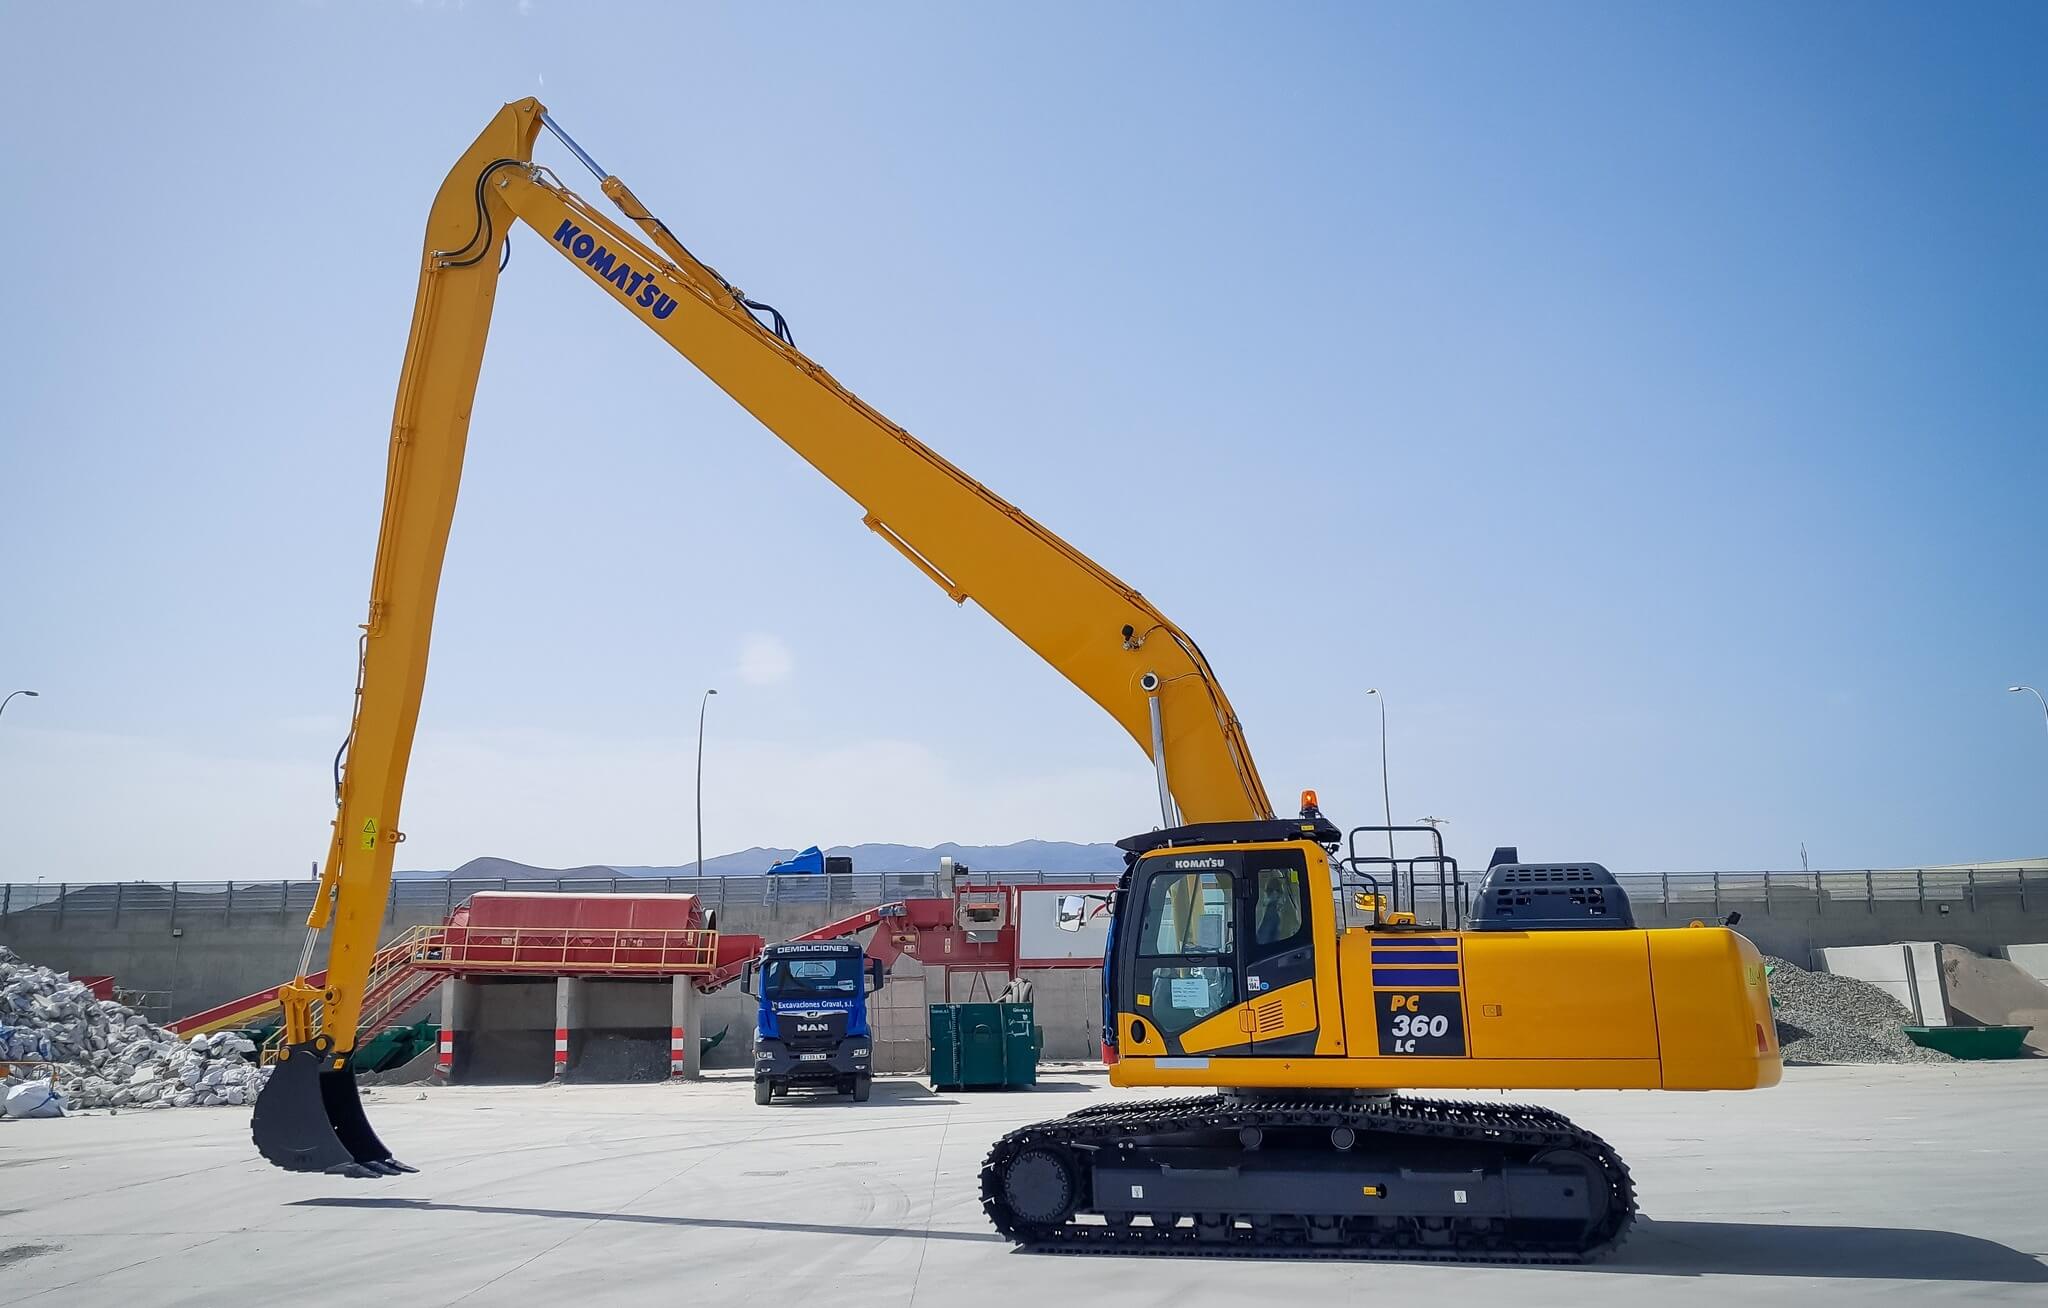
Hydraulic leaks in an excavator long boom are among the most common—and frustrating—issues operators face. A leaking hydraulic system not only reduces efficiency but can lead to costly downtime, environmental hazards, and even safety risks. In this comprehensive guide, we’ll break down the causes of hydraulic leaks, provide step-by-step repair methods, and share preventive tips to keep your excavator running smoothly.
Before diving into repairs, understanding the root causes helps prevent future leaks. Here are the primary culprits:
1. Worn Seals or O-Rings
Hydraulic cylinders rely on seals to contain pressurized fluid. Over time, heat, friction, and contaminants degrade these seals, leading to leaks.
2. Damaged Hydraulic Hoses
Abrasion, kinks, or age can cause hoses to crack or burst, especially near joints.
3. Loose Fittings or Connections
Vibrations during operation may loosen bolts, nuts, or threaded couplings.
4. Cracked Cylinder Barrel or Rod
Physical impacts or metal fatigue can damage the cylinder structure.
5. Contaminated Hydraulic Fluid
Dirt or debris in the fluid accelerates wear on seals and valves.
Tools Needed: Flashlight, clean rags, UV dye (optional).
1.Clean the Area:
Wipe down the long boom’s hydraulic components (cylinders, hoses, valves) to remove dirt and oil residue.
2. Inspect Under Pressure:
3. Use UV Dye (Optional):
Add fluorescent dye to the hydraulic fluid. Run the system, then use a UV light to pinpoint leaks.
A. Fixing Seal or O-Ring Failures
Tools Needed: Seal kit, hydraulic jack, wrench set.
1. Depressurize the System:
Turn off the excavator and lower the boom to relieve pressure.
2. Disassemble the Cylinder:
Remove the hydraulic cylinder from the boom.
Extract the piston rod and inspect seals for cracks or flattening.
3. Replace Seals:
Install new seals using a seal driver tool. Lubricate with hydraulic fluid to prevent damage.
4. Reassemble and Test:
Reinstall the cylinder, refill hydraulic fluid, and check for leaks.
B. Repairing Damaged Hydraulic Hoses
Tools Needed: Hose replacement, wrench, hydraulic fluid.
1. Release Pressure:
Shut off the engine and cycle the controls to depressurize lines.
2. Remove the Faulty Hose:
Use wrenches to disconnect fittings. Catch any residual fluid in a container.
3. Install a New Hose:
Match hose specifications (length, pressure rating). Tighten fittings to manufacturer torque settings.
4. Bleed the System:
Refill hydraulic fluid and purge air by cycling the boom several times.
C. Tightening Loose Fittings
Tools Needed: Torque wrench, thread sealant.
1. Check All Connections:
Inspect fittings on hoses, cylinders, and valves.
2. Re-Torque to Spec:
Use a torque wrench to tighten bolts/nuts to the manufacturer’s recommended value.
3. Apply Thread Sealant:
For threaded joints, use a hydraulic-grade sealant (e.g., Loctite 545).
If the leak stems from a cracked cylinder barrel or bent rod, professional repair or replacement is often safer:
1. Cracked Barrel:
Weld repairs are possible but require specialized equipment. Consult a hydraulic shop.
2. Bent Rod:
Replace the rod entirely to avoid uneven seal wear.
Preventing Future Hydraulic Leaks
1. Regular Inspections:
Check hoses, seals, and fittings weekly for early signs of wear.
2. Use Quality Fluids and Filters:
Replace hydraulic fluid and filters per the manufacturer’s schedule.
3. Protect Hoses from Abrasion:
Install sleeve guards or reroute hoses away from sharp edges.
4. Avoid Overloading the Boom:
Excessive force strains seals and cylinders.
When to Call a Professional
While minor leaks can be fixed DIY, seek expert help if:
Fixing a hydraulic leak in your excavator long boom doesn’t have to be daunting. By methodically identifying the source, using the right tools, and following safety protocols, you can resolve most leaks in under an hour. Remember: preventive maintenance is key to avoiding costly downtime.
 No. 1, Jinpen Qiangang Street, Baiyun District, Guangzhou, Guangdong, China
We have valued our quality the most, and we aim for keeping your maintenance cost down